


|
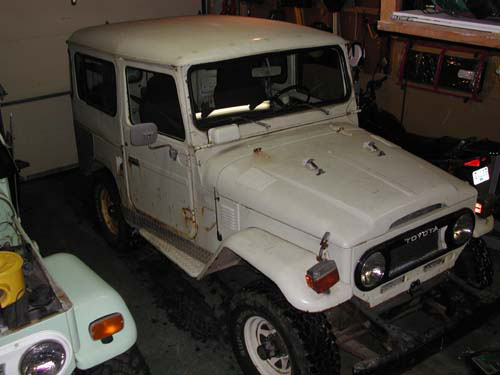
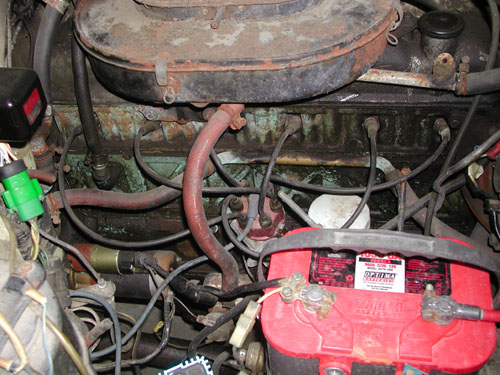
One day during the summer of 2002 I had taken my topless 69FJ40 to work. I usually only drive it on nice days and this was one of the nicest. Blue skies highs in the low 80s...just about perfect. I parked it on the opposite side of the building from where I usually do, so I could peer out my window at it. As I was walking toward the door another employee (Chris) stopped me to chat. He had inquired what year my Cruiser was and what kind of mods I had done. He told me that he had a 1978 FJ40 that he had owned for years. It wasn't running and there were some things he wanted to do to it to get it back on the road. This turned into some friendly cajoling whenever I saw Chris. "Hey when are you going to get that thing going so I can teach you how to use it?" I'd say when we crossed paths. He'd smile and tell me that his life was too hectic with a new baby and all to find time to work on it. After a few months of chatting about Cruisers and such, Chris came to me and said that he was going to have to sell his truck. I offered to help list it for him because I didn't have the amount of money that he was looking for it. He told me that if I was interested to make him an offer, mainly because he wanted to see it go to someone who could appreciate it for what it was. I scheduled some time to go and take a look at it. I know I say this a lot, but this truck had some potential. The body was in OK condition with no really big rust demons other than in the rear sil area. There was some surface rust that was peaking through the paint job. The frame had surface rust but seemed solid. He had added a Saginaw power steering conversion, a newer gas tank, Man-A-Fre Header, Rochester carb conversion and a Jacobs Electronic ignition system. It had an A/C system installed at one time, but was now removed (but included). And to boot he told me that the engine had been overhauled within the last 10K miles.
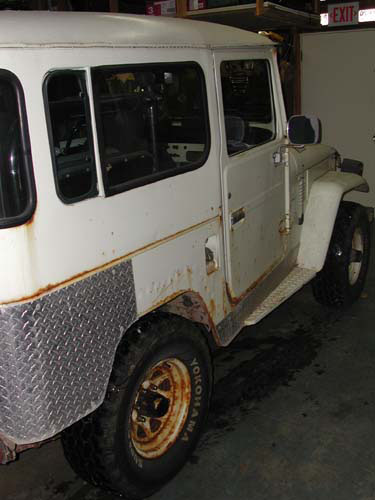
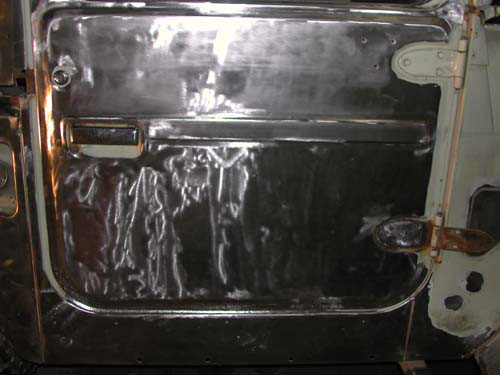
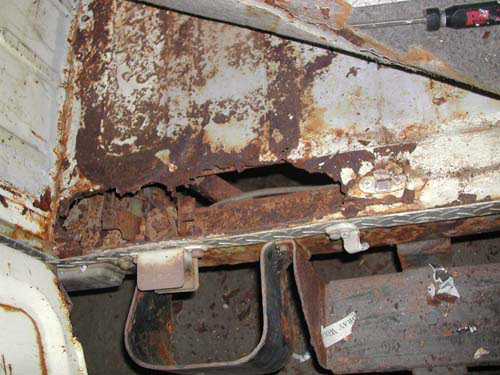
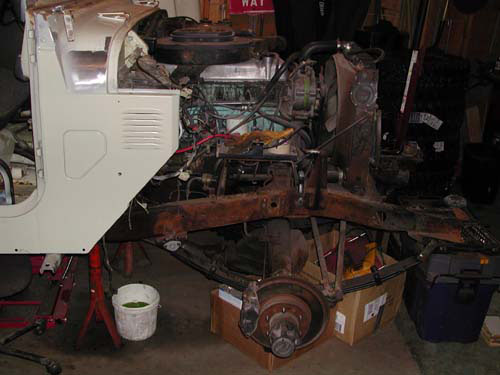
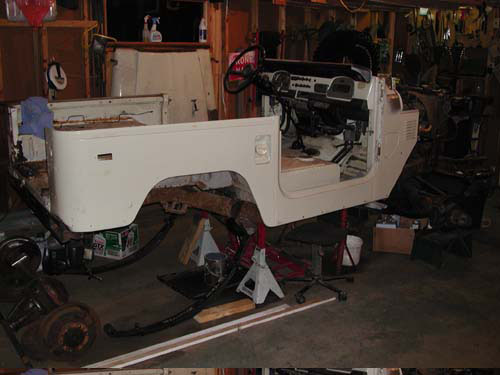
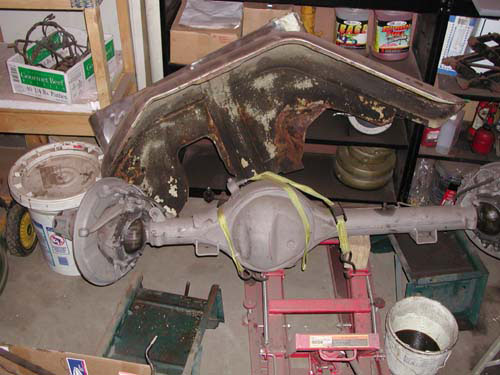
I came up with a figure that I thought would be fair for the truck in it's current condition and mentioned it to Chris. He thought about it for a minute and said "you got a deal". I was excited. I had wanted a cruiser that had the Ambulance doors, 4-speed and disc brakes for a while, all of the other things were like icing on the cake. I picked it up and actually drove this one home in December of 2002. This was the first FJ that I actually was able to drive home under it's own power. I'm sure I was grinning from ear to ear. I spent a better part of the next week out in the garage evaluating the true condition of the Cruiser. Once I dug in I found that the rear sil and amby door bottoms were in rough shape. I also found that the drivers floor pan was thin and would need replacement. I came to the decision that I would clean up the body and patch the issues and drive the thing like that. I decided that I would strip the body down to the bare metal to address the surface rust that was showing through a mediocre repaint.
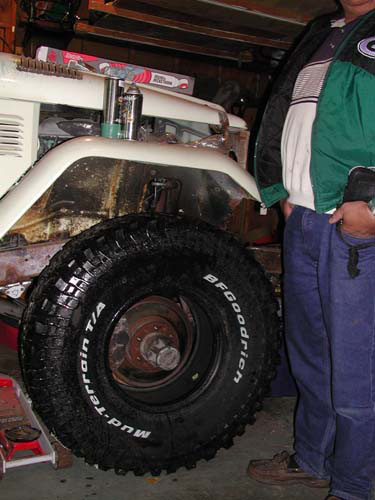
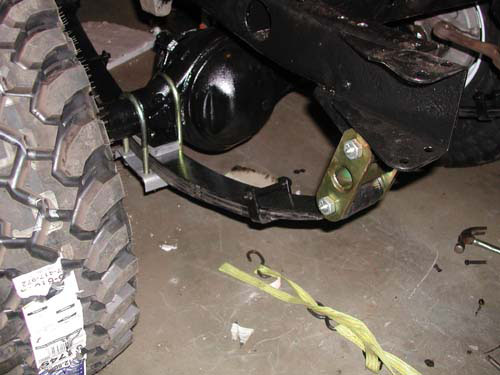
I found a bent spring and that was the incentive I needed to order a 4" suspension lift. As long as I was going to lift it, I might as well get some new 35x12.5" BFG Mud's and rims. I was about ready to put it back together when I began to think that with the amount of work I was going to put into it to patch it up I might as well go full bore and clean up the frame and axles. Well, this has now turned into a full frame-off rebuild. I tend to shy away from the term restoration because I am not going to return this Land Cruiser back to it's stock condition. Instead I like to use the word Restification. It's like a cross between restoration and modification. This will allow me to bring it back to a really nice condition and add the lift, tires, winch, interior and the already added mods.
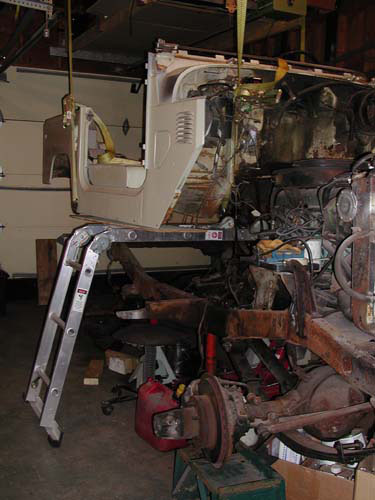
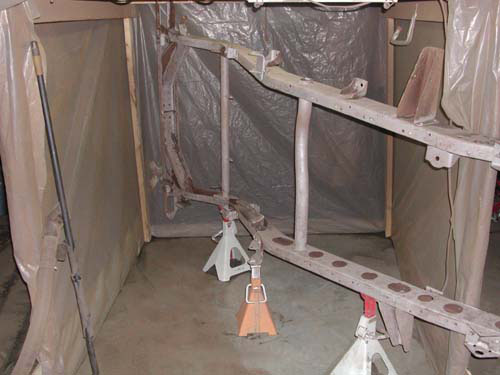
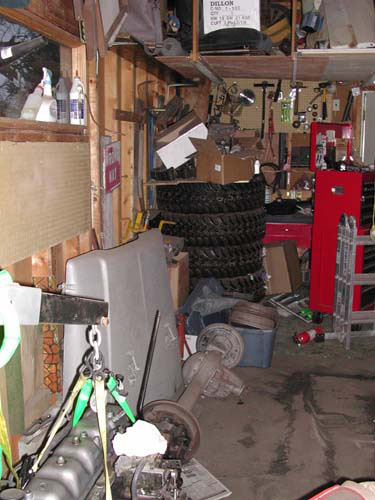
As I wore through a number of the 3M grinding pads I found that the body and frame were in actually better condition than I had expected. The pads had tended to get chewed up relatively fast on things like the frame and I decided that sandblasting was a better choice for revitalizing the frame. Off came the body and then the motor came out. I built a shanty in my garage that would allow me to use my new pressure tank sandblaster without completely destroying my garage. I have to wonder what the neighbors were thinking. "Who is that crazy fool trying to ice fish in his garage?" It took a lot of manipulation but I completely stripped the frame and axles to pure clean white metal. Talk about dirty, messy work. If I had it to do again, sure, I could take it to someone and have them blast it, but I have the satisfaction of saying that I have done the entire project myself...not to mention that I am a cheapskate.
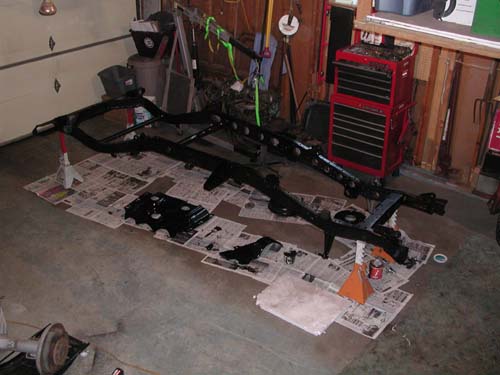
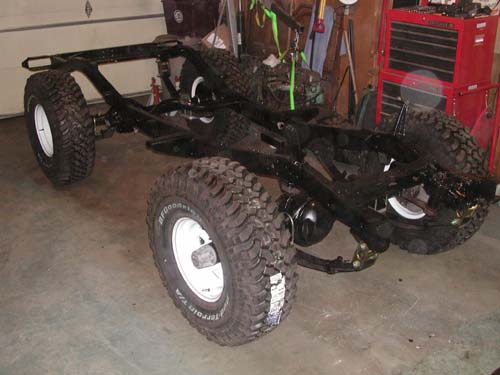
After about a year into it I am starting to turn the corner. I have applied POR-15 to the frame and axles and I have started in the reconstruction of the chassis. I have now installed the new 4" lift springs and added some nice burly extended greaseable shackles. I have ordered all new stainless steel soft brake lines and a new tie rod ends and drop pitman arm. What a good feeling.
5.14.04
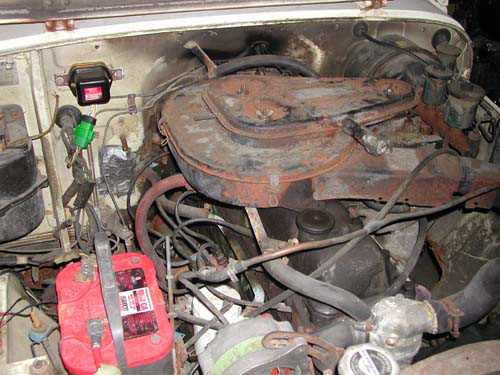
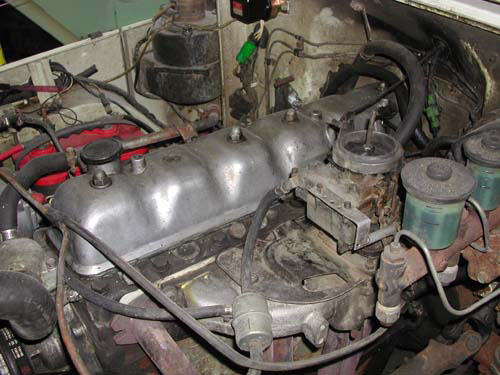
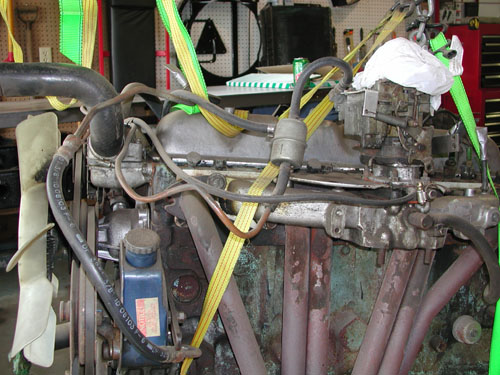
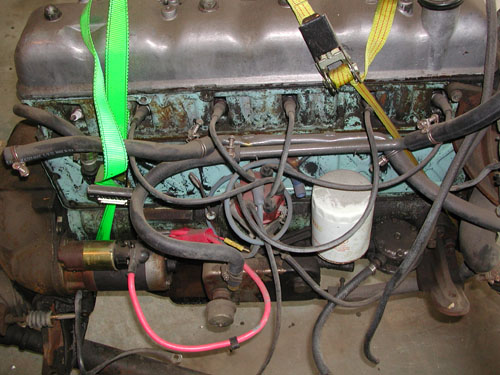
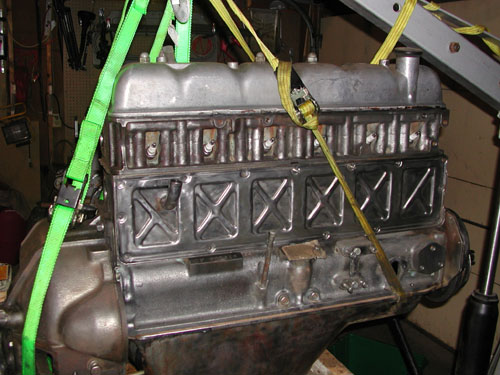
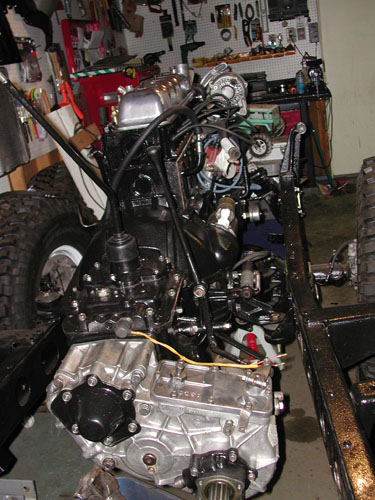
I disassembled all of the ancillaries from the engine block including all the Motor Mounts, Starter, Alternator, Distributor and Wires, Oil Cooler and the Fuel Pump. On the other side of the motor I had to remove the Intake and Exhaust Manifold with the Carb and the Power Steering Pump. From the front of the motor I removed the Thermostat Housing, The Water Pump and the Crank Pulley and cover. The crank pulley was really difficult to remove without the engine in the vehicle. Since there was nothing attached to the motor when I tried to turn the large nut on the crank it would just turn over the engine. I eventually had to get a chain wrench, a torch and a large mallet to get that sucker free. I attacked the engine block with a variety of wire brushes and cleaners. (man, there are a lot of nooks and crannies.) Once I got it down to bare metal I went over it with one last time with a grease and wax remover and then Painted it with POR-15. I spoke with my paint supply house and this is what they had recommended for the block. I was a little nervous about the heat factor but after a little research I found that according to their tech rep, Christopher Albright, POR15 has a temp rating of around 600 degrees F. That should be fine for everything but the headers and exhaust. I also removed the side cover, oil pan and valve cover and cleaned them up and replaced the gaskets.
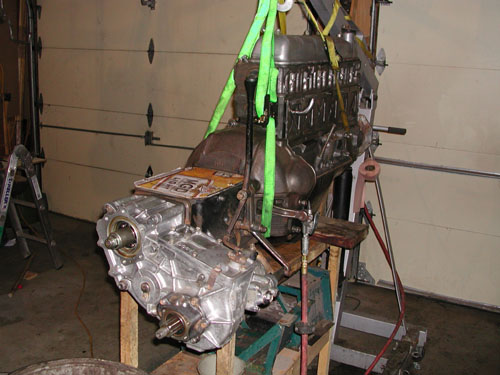
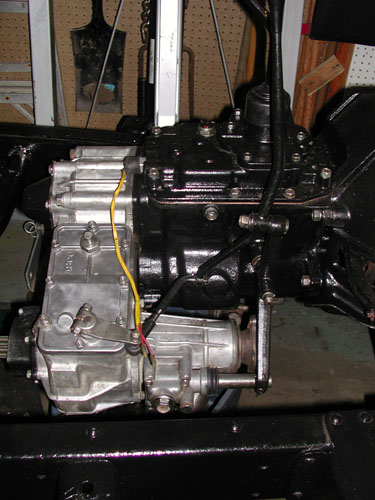
On the tranny I removed the shifter and top cover and cleaned, brushed and painted them. I inspected the tranny and replaced the gaskets and the rubber shifter boot. On the transfer case I removed the nose cone, The speedometer gear housing and both covers and cleaned and inspected the internals and replaced the gaskets and the e-brake oil seal. I also replaced the rubber boot on the transfer case shifter and cleaned up the aluminum housing.
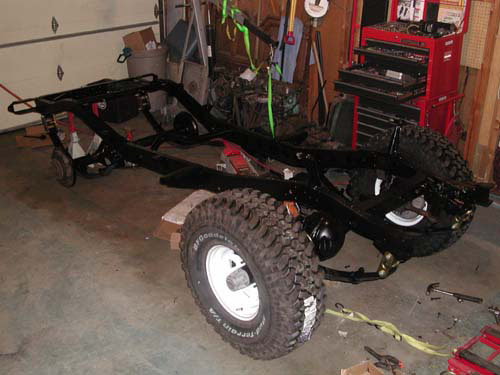
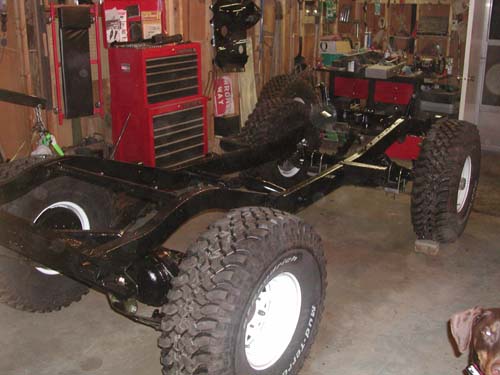
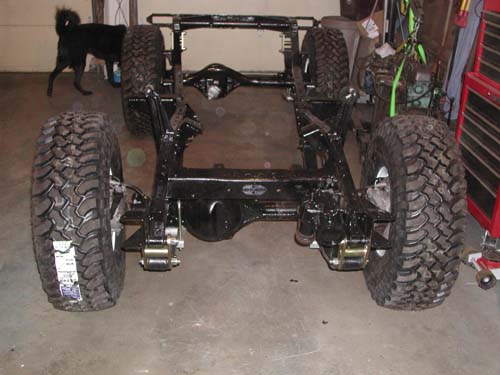
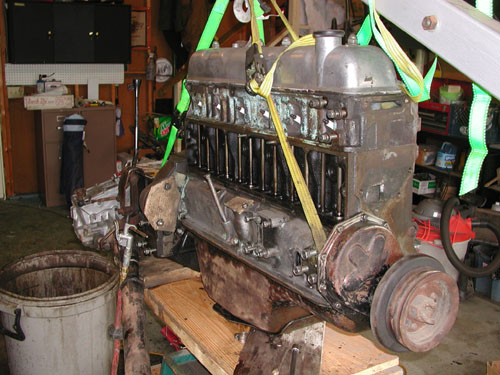
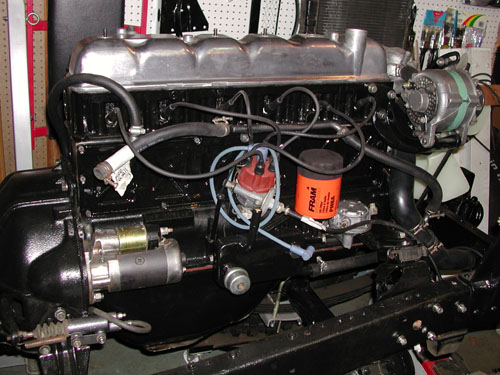
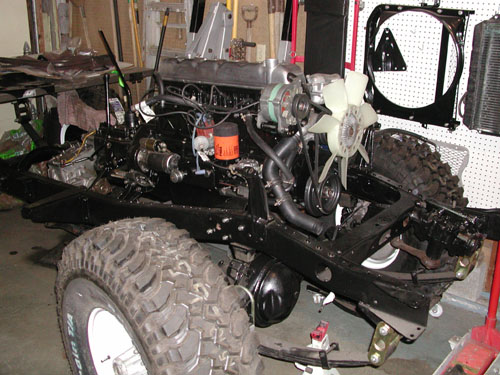
I cleaned up all of the parts I had removed, reconditioned and painted them and then replaced them on the freshly painted block with new gaskets. Let me tell you this, It is imperative that everything that is removed from an engine like this is marked, labeled and /or put in zip locks. This made all the difference when I attempted to put everything back together. There are a ton of little pieces and parts to keep track of. Digging this far into the engine took time (about a month and a half), trying to remember where everything went would have been impossible. Luckily I had a system and it worked well. At this point I was close to reinstalling the engine so I replaced the oil filter and installed new spark plugs. I then was ready to put it in the frame. I had cleaned, sandblasted and painted the motor mounts and rubber pucks and decided that they were fine to reuse. I replaced the hardware with new grade 8 bolts and dropped the engine in. It looks so nice, you would almost swear that it was a new power plant. NICE!!!
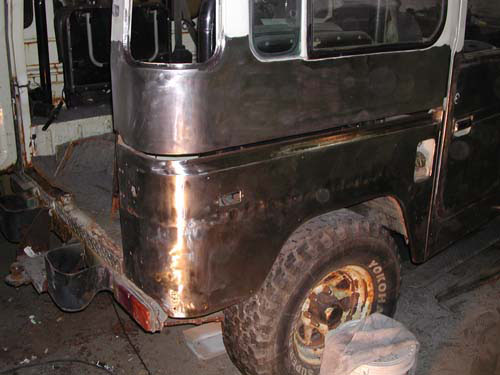
Next on my to do list is to tackle the body. I haven't done any sheet metal body work, so this will be a learning process for me. At the very least I can now see the light at the end of the tunnel. |


Vehicle Listing
• 1969 FJ40
The Addiction Begins
• 1979 FJ40
Bad Influence - good parts
• 1971 FJ40
Um... Surprise?!.
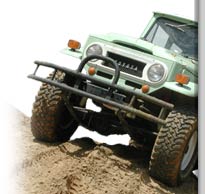
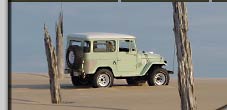
• 1978 FJ40
Restification Project
• 1969 FJ40
Monstrosity
• Alz Toyz